

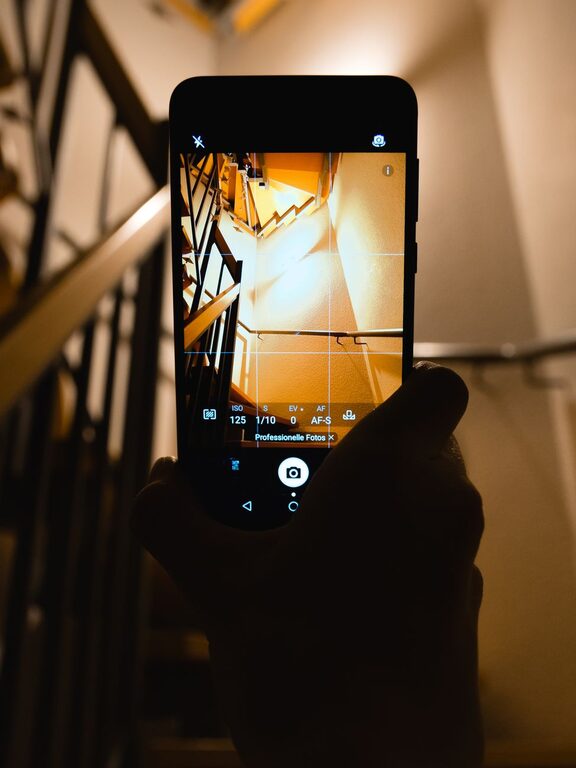
Taking better phone photos does not require expensive equipment or advanced photography skills. A few simple habits can make a noticeable difference in the sharpness, lighting, and composition of your pictures.
Whether you are photographing people, pets, food, travel scenes, or everyday moments, these beginner-friendly tips will help you get more from the camera you already have.
Start With a Clean Lens
One of the easiest ways to improve your phone photos is to clean the camera lens before you take a picture. Fingerprints, dust, and smudges can make images look soft, hazy, or less colorful.
Use a soft, clean cloth to gently wipe the lens. Avoid using rough materials that could scratch the glass. Make lens cleaning a habit, especially before taking important photos or shooting outdoors.
Use Natural Light When Possible
Good lighting is often more important than camera settings. Natural light can make photos look clearer and more balanced.
When photographing people or objects:
– Face your subject toward a window or another soft light source.
– Avoid placing a bright window directly behind your subject.
– Take outdoor photos in the morning or late afternoon for softer light.
– Look for shade on bright, sunny days.
– Avoid using the phone flash unless it is truly needed.
Direct sunlight can create strong shadows and harsh highlights. If the light is too bright, move your subject into open shade, such as near a building or under a tree.
Watch the Direction of the Light
Light coming from the side can add shape and texture. Light coming from behind your subject can create a silhouette or a bright outline. Light from the front usually produces an evenly lit image.
Try changing your position instead of asking your subject to move. Taking a few steps to the side can completely change the appearance of a photo.
Tap to Focus
Your phone usually chooses what to focus on automatically, but it may not always select the most important part of the scene. Tap the screen on the person, object, or detail you want to look sharp.
Tapping also helps the phone adjust the brightness for that area. If the image looks too bright or too dark, look for a brightness slider that appears near the focus box. Move it slightly until the photo looks more balanced.
Take a moment to check the focus before pressing the shutter. This is especially useful for close-up photos, portraits, and pictures taken in low light.
Hold Your Phone Steady
Small movements can make photos blurry, especially indoors or at night. Hold your phone with both hands and keep your elbows close to your body.
You can also improve stability by:
– Leaning against a wall or table.
– Resting your phone on a solid surface.
– Taking a slow breath before pressing the shutter.
– Using a timer for group photos or low-light scenes.
– Pressing the volume button to take a picture if it feels more comfortable.
Avoid moving the phone immediately after tapping the shutter. Some photos take a moment to capture, even when the process looks instant.
Improve Your Composition
Composition is the way elements are arranged inside a photo. A well-composed image guides the viewer’s attention and makes the scene easier to understand.
Start by turning on your phone’s grid lines. These lines can help you keep horizons straight and place subjects more thoughtfully.
Try the Rule of Thirds
Imagine the screen divided into nine equal sections. Placing the main subject near one of the lines or where two lines meet can create a balanced image.
This is not a strict rule. Centering a subject can also work well, especially for simple portraits, architecture, or symmetrical scenes. Use the grid as a guide rather than a requirement.
Look for Leading Lines
Lines can draw attention toward the main subject. Roads, fences, paths, stairways, and tables can all create leading lines.
Before taking the photo, notice where these lines begin and where they point. Adjust your position so they help direct the viewer’s eye instead of leading it out of the frame.
Keep the Background Simple
A busy background can distract from the subject. Look for clean walls, open spaces, or areas with fewer objects.
Check for unwanted items that appear to come out of someone’s head, such as poles, branches, or signs. Taking one step to the left or right can often remove these distractions.
Avoid Digital Zoom
Pinching the screen to zoom in can reduce image quality. Digital zoom enlarges the picture rather than capturing more detail, which can make the result look blurry or pixelated.
Instead, move closer when it is safe and practical. If you cannot get closer, take the photo at the regular setting and crop it later. Some phones have a separate telephoto camera, but test it in good light to see how it performs.
Explore Different Angles
Many photos look ordinary because they are taken from the same standing position. Try changing your viewpoint to make the image more interesting.
Experiment with:
– A lower angle for a stronger, more dramatic view.
– A higher angle for food, products, or flat objects.
– A close-up view to show texture and detail.
– A wider view to include the surroundings.
– A side angle to add depth.
Move around your subject and take several versions. Small changes in height, distance, and direction can produce very different results.
Use Portrait Mode Carefully
Portrait mode can create a soft background that helps a person or object stand out. It works best when the subject is separated from the background and there is plenty of light.
Check the edges of the subject after taking the photo. Phone software can sometimes blur parts of hair, hands, glasses, or objects near the subject. If the effect looks unnatural, try taking another photo without portrait mode.
Be Patient With Night Photos
Low-light photography can be difficult because the phone needs more time to capture enough light. Keep the phone steady and avoid sudden movement.
Look for nearby lamps, shop windows, or other soft light sources. Night mode can help, but it may create blur if people or objects move during the exposure.
Instead of using the flash automatically, first try moving closer to a light source or changing your position. The result may look more natural.
Edit With a Light Touch
Simple editing can improve a good photo, but too much editing can make it look unnatural. Most phone photo apps include basic tools for brightness, contrast, color, cropping, and straightening.
A useful editing order is:
- Crop out distractions.
- Straighten the horizon.
- Adjust brightness slightly.
- Add a small amount of contrast.
- Correct the color if the image looks too warm or too cool.
- Reduce highlights or brighten shadows if needed.
Save the original photo when possible. This gives you the freedom to try different edits later.
Practice With a Simple Challenge
Improvement comes from taking photos regularly and reviewing what works. Choose one subject, such as a plant, pet, meal, or building, and photograph it from several angles.
For each session, try to change only one thing:
– Move closer or farther away.
– Use a different light source.
– Change the camera height.
– Try a simpler background.
– Place the subject in a different part of the frame.
Afterward, compare the results. Notice which photo has the clearest subject, most pleasing light, and least distracting background.
A Quick Photo Checklist
Before taking a picture, ask yourself:
– Is the lens clean?
– Is the subject well lit?
– Did I tap to focus?
– Is the phone steady?
– Is the background distracting?
– Is the horizon straight?
– Would a different angle improve the photo?
You do not need to use every tip in every situation. Start with clean lenses, better light, steady hands, and thoughtful composition. With regular practice, these small changes will help you take sharper, more appealing phone photos wherever you go.